How to configure a WireGuard iOS client
Jay Rogers
May 26th, 2020

This is a continuation of my free "mini-course" called Gain Flexibility & Increase Privacy with WireGuard VPN. Start there if you are new to WireGuard.
What you'll achieve
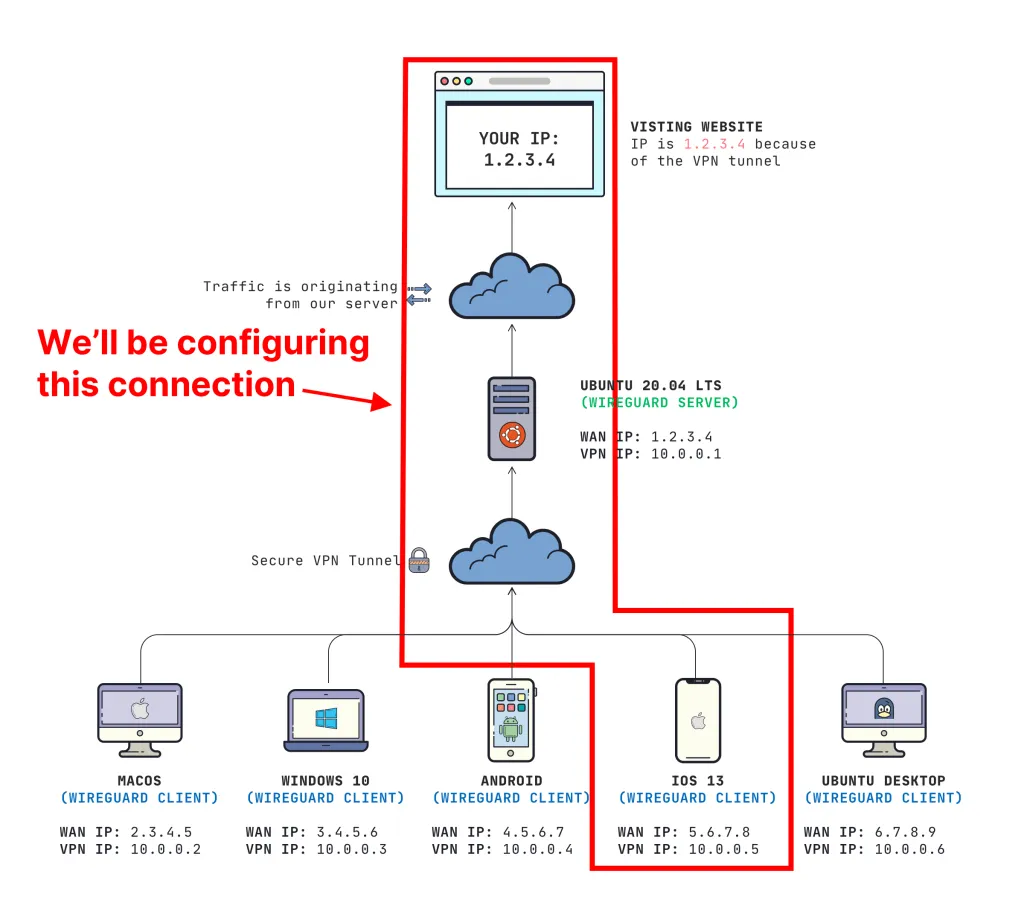
- We will have our iPhone client connecting to our WireGuard VPN server
This is what it looks like:
Prerequisites
- You need a working WireGuard VPN Server (learn how to set that up here)
- You need an iPhone/iPad running the latest iOS version
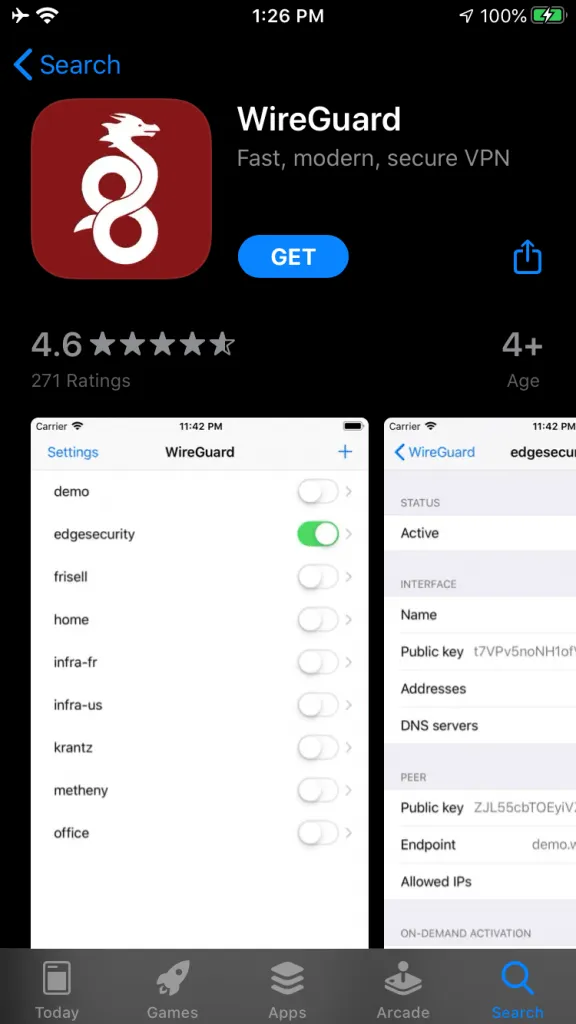
Download WireGuard app from the App Store
You can download the official app on the App Store.
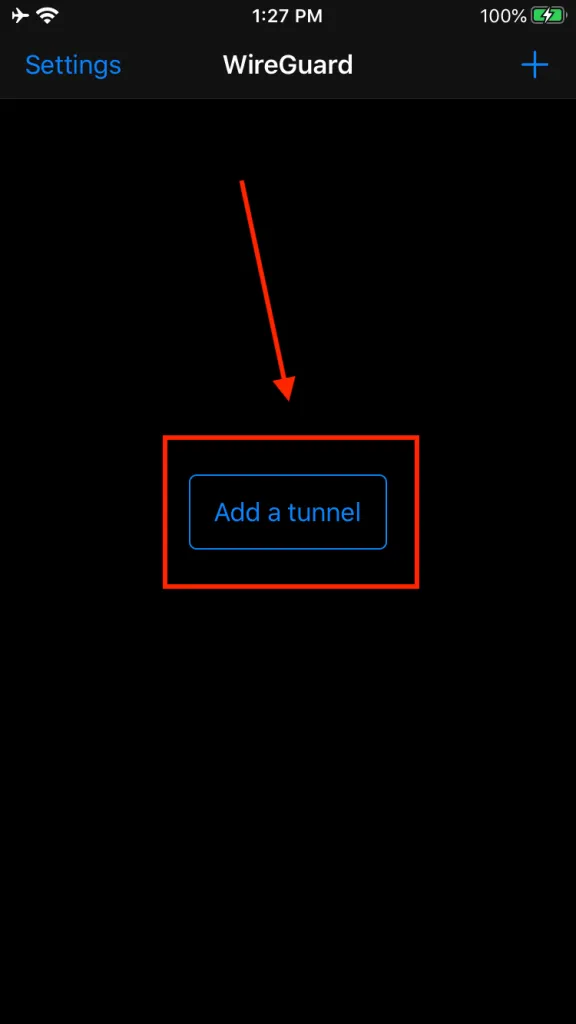
Add a tunnel
We need to add a tunnel:
We then want to choose "Create from QR code":
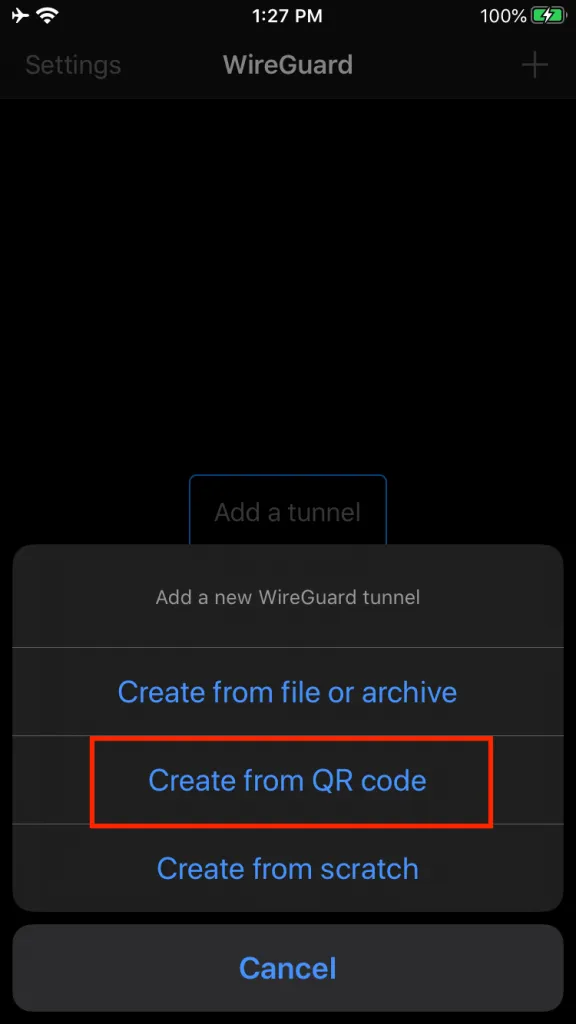
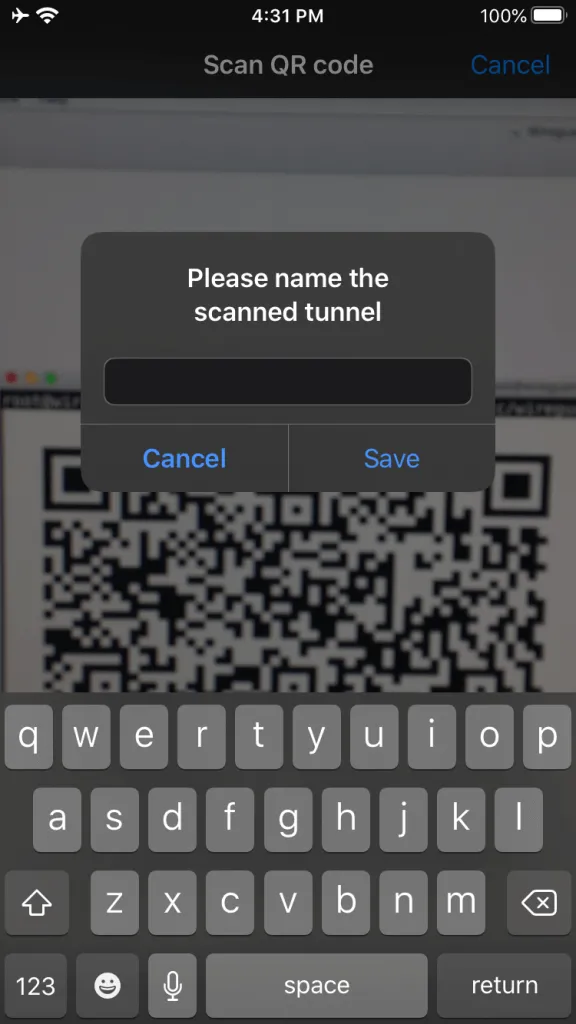
Using the QR code that we generated on our server, we can now hold our camera up to our QR code to import it. Give it a descriptive name for your connection.
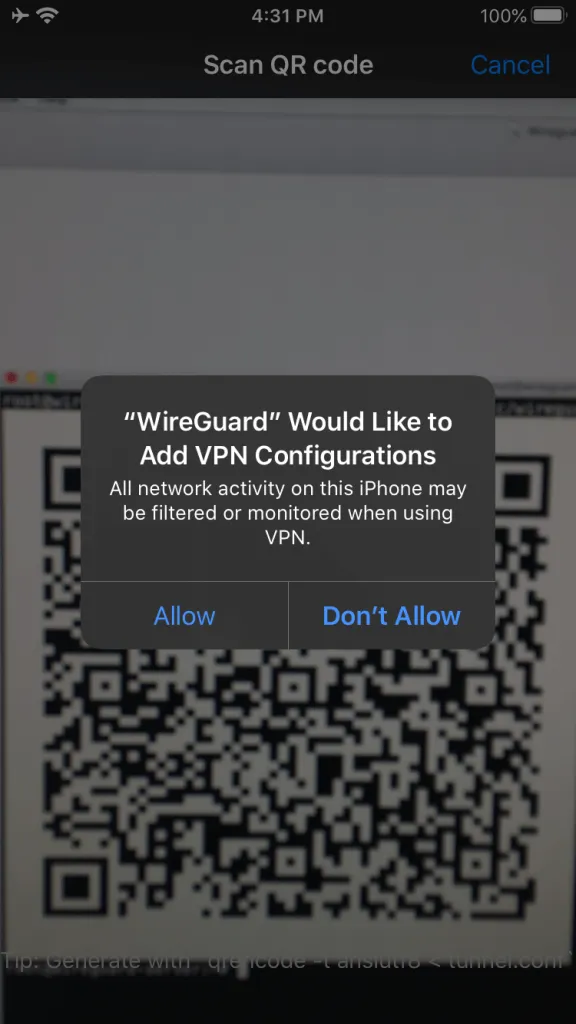
You may be prompted to add this VPN configuration. Be sure to allow it so you can access it through the iOS settings page.
You'll see it automatically imports everything, similar to our other clients that we have been working with.
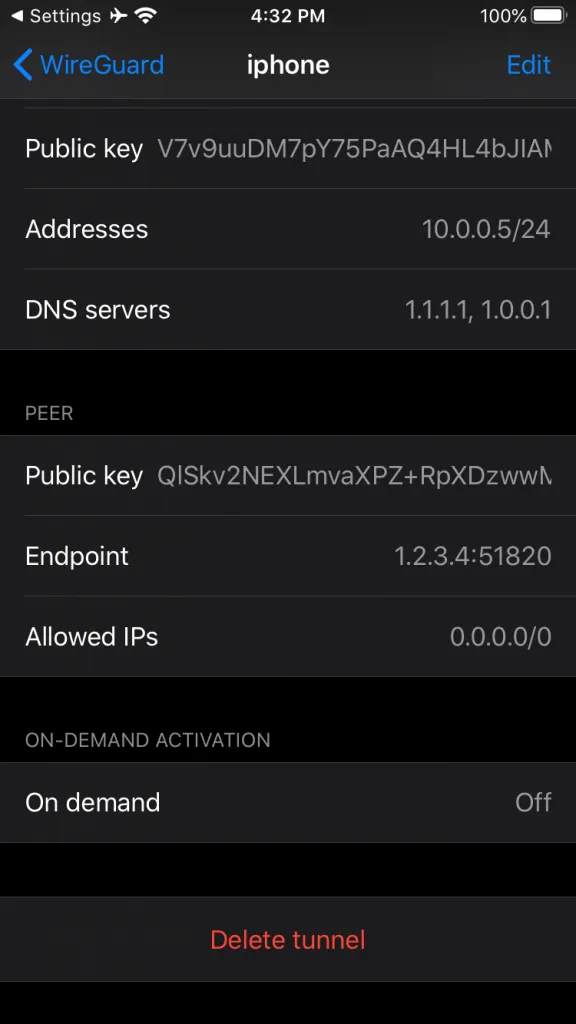
You can set the On demand to be "on" if you want to always use your VPN (over LTE and Wi-Fi).
Add your client to your server
Before you can connect, you need to add the client to your server. I go through this on why we need to do this here, but here is the quick solution.
ON YOUR SERVER run this command:
Add client to server
sudo wg set wg0 peer YOUR_CLIENT_PUBLIC_KEY allowed-ips YOUR_CLIENT_VPN_IP
IMPORTANT: You need to replace YOUR_CLIENT_PUBLIC_KEY and YOUR_CLIENT_VPN_IP
Connecting to the VPN
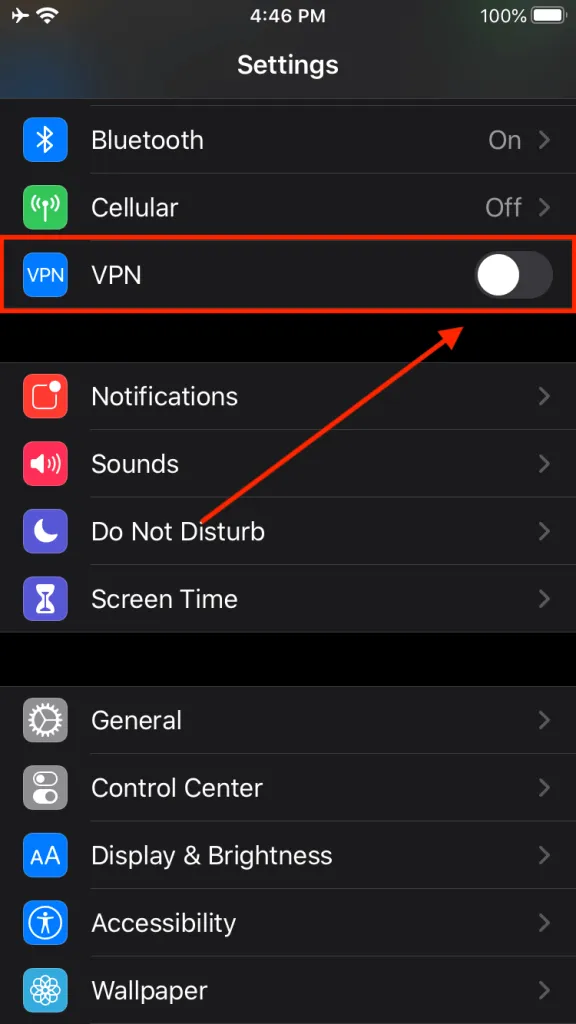
You can now access the VPN from the "Settings" page of iOS.
Test it out
You can test it out by going to dnsleaktest.com and fast.com to see how its working.
That's all!
If you like content like this, consider signing up on our mailing list or follow me on Twitter.
Want to work together?
Professional developers choose Server Side Up to ship quality applications without surrendering control. Explore our tools and resources or work directly with us.

Join our community
We're a community of 3,000+ members help each other level up our development skills.
Platinum Sponsors
Active Discord Members
We help each other through the challenges and share our knowledge when we learn something cool.
Stars on GitHub
Our community is active and growing.
Newsletter Subscribers
We send periodic updates what we're learning and what new tools are available. No spam. No BS.
Sign up for our newsletter
Be the first to know about our latest releases and product updates.