
 Hire Us
Generating WireGuard QR codes for fast mobile deployments
Jay Rogers
May 25th, 2020

If you have been following along on my Gain Flexibility & Increase Privacy with WireGuard VPN "mini-course", you'll notice that there are a few areas that we need apply configurations in order for our devices to get connected.
Typing all of this in manually on mobile can be a massive pain, especially if you are supporting a remote device for a user.
QR Codes to the rescue!
We can use QR codes to send VPN configuration files out. This is brilliant engineering on WireGuard's part.
Prerequisites
- You need a working Ubuntu 20.04 WireGuard VPN Server (learn how to set that up here)
- You will need the
qrencodepackage installed on your server
Installing the package is easy. Run this command on your SERVER:
sudo apt install qrencode
Creating the client keys
Unlike macOS and Windows (where our keys are generated on the server), we will need to create the configuration on the server itself.
I like to keep my client configurations in "/etc/wireguard/clients", so let's make that directory on the server. I am also going to create a keypair called mobile, so you will see me reference this name again throughout my post.
sudo mkdir -p /etc/wireguard/clients; wg genkey | sudo tee /etc/wireguard/clients/mobile.key | wg pubkey | sudo tee /etc/wireguard/clients/mobile.key.pub
IMPORTANT NOTE: Be sure to change the mobile name in that command to a descriptive client name of your choice (for both the private and public key).
Creating the client configuration file
We'll then need to create a client configuration file to be encoded into a QR code. We'll use nano to do the trick:
sudo nano /etc/wireguard/clients/mobile.conf
This is what we will want our "/etc/clients/mobile.conf" file to look like:
[Interface]
PrivateKey = abcdefghijklmnopqrstuvwxyz1234567890=+
Address = YOUR_VPN_PRIVATE_IP/24
DNS = 1.1.1.1, 1.0.0.1

[Peer]
PublicKey = YOUR_SERVER_PUBLIC_KEY
AllowedIPs = 0.0.0.0/0
Endpoint = YOUR_SERVER_WAN_IP:51820
IMPORTANT: You need to replace YOUR_SERVER_PUBLIC_KEY, YOUR_VPN_PRIVATE_IP and YOUR_SERVER_WAN_IP
ALSO IMPORTANT: Paste in the contents of your "mobile.key" for the value of PrivateKey. I used the example of abcdefg... but you can get the contents of your key by running the cat command in a separate window:
cat /etc/wireguard/clients/mobile.key
TO SAVE: While in nano, press CTRL + O to save and CTRL + X to quit.
Generate your QR code
Now that we have our file ready, we can now generate a QR code with it:
qrencode -t ansiutf8 < /etc/wireguard/clients/mobile.conf
It will output an image like this:
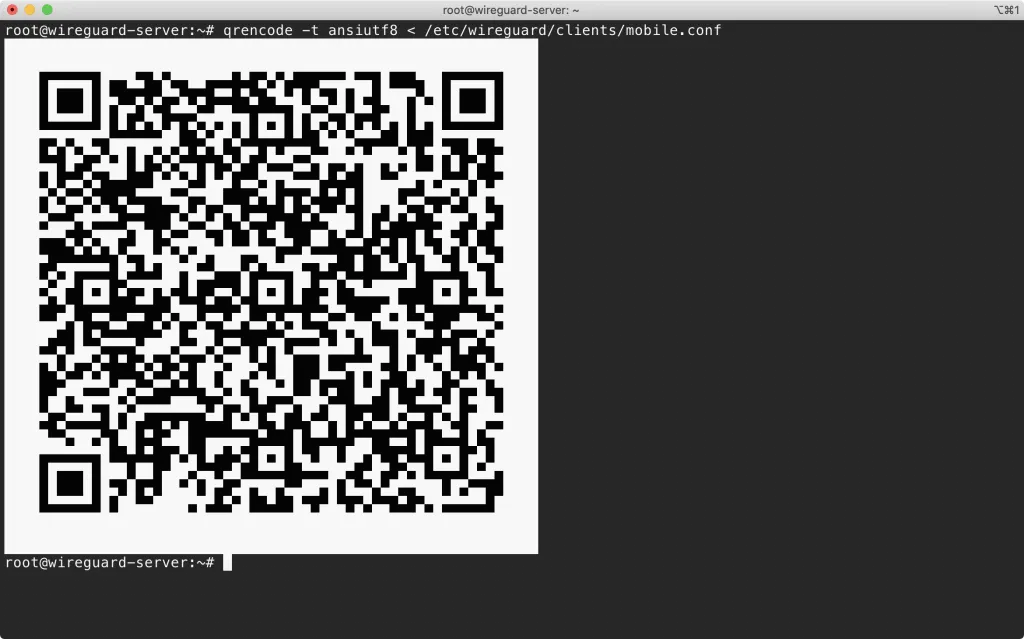
Treat this QR code like a password! Don't just email it. You can take a screenshot and securely send it to your user so only they have access to it.
Load it into the app
All you need your user to do is open the app on their phone and hold their camera up to the QR code. You can see the entire process here:
Conclusion
QR codes make deploying WireGuard configurations to mobile devices much easier and more secure. By following these steps, you can quickly set up new mobile clients without the hassle of manual configuration.
Get more stuff like this in your inbox or you can always follow me on Twitter for the latest updates.
Like what you're reading?
We write code the same way -- production-grade, well-documented, and built to last. Two senior engineers available for a fraction of what a full-time hire costs.

Join our community
We're a community of 3,000+ members help each other level up our development skills.
 Join our Discord
 Platinum Sponsors

Active Discord Members
We help each other through the challenges and share our knowledge when we learn something cool.
Stars on GitHub
Our community is active and growing.
Newsletter Subscribers
We send periodic updates what we're learning and what new tools are available. No spam. No BS.
Sign up for our newsletter
Be the first to know about our latest releases and product updates.
We're a community empowering product builders with self-hosted tools and open source solutions.