
 Hire Us
Google Analytics with Vue Router in an SPA
Dan Pastori
December 18th, 2017
This tutorial I'd say is probably one of the most important tutorials in the series. Using Google Analytics in your application is essential to receive feedback on your user's actions as they navigate through your app/website. Now it's a little tricky in a Single Page Application because the page doesn't really refresh, we are just pushing and popping history to simulate navigation. We will run through the process of everything you need to get Google Analytics with Vue Router implemented in your Single Page Application.
As for advanced set ups and filters, that will be up to you. We will just be configuring Google Analytics to be ready for customization and intelligence on your app's performance.
Step 1: Get your Analytics Account
First, we will need to get an analytics account set up through Google Analytics. First, visit: https://analytics.google.com. If you don't have any sites set up with Google Analytics, you will get a nice on boarding screen that guides you through the process.
If you already have an account set up, you should be brought to a screen with one of your site's analytics. To create a new site to monitor, click on the Admin section at the bottom left of the screen:

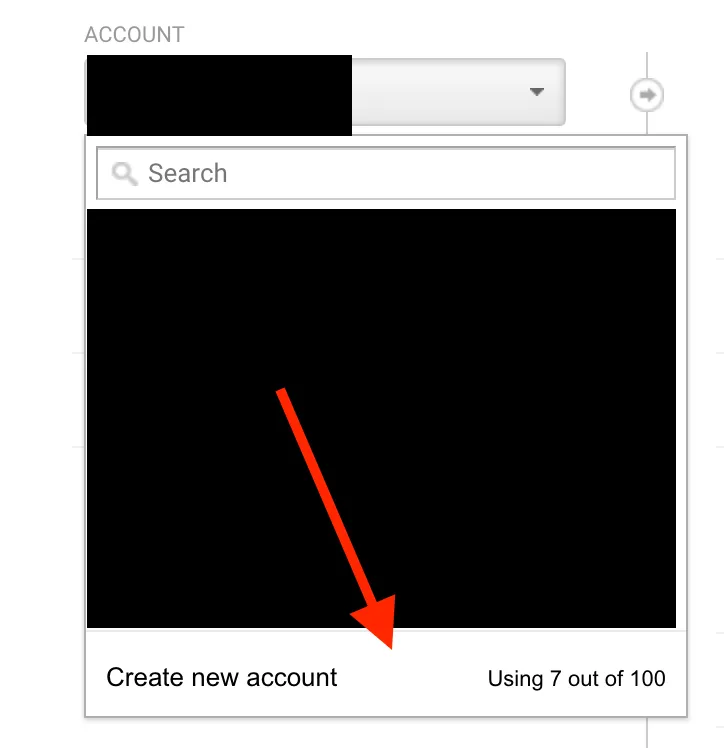
From here, you will see the active account, but if you click the drop down, you can create a new account. This is what we will walk through:
The form is pretty simple to fill out and just asks for some basic information regarding your site:
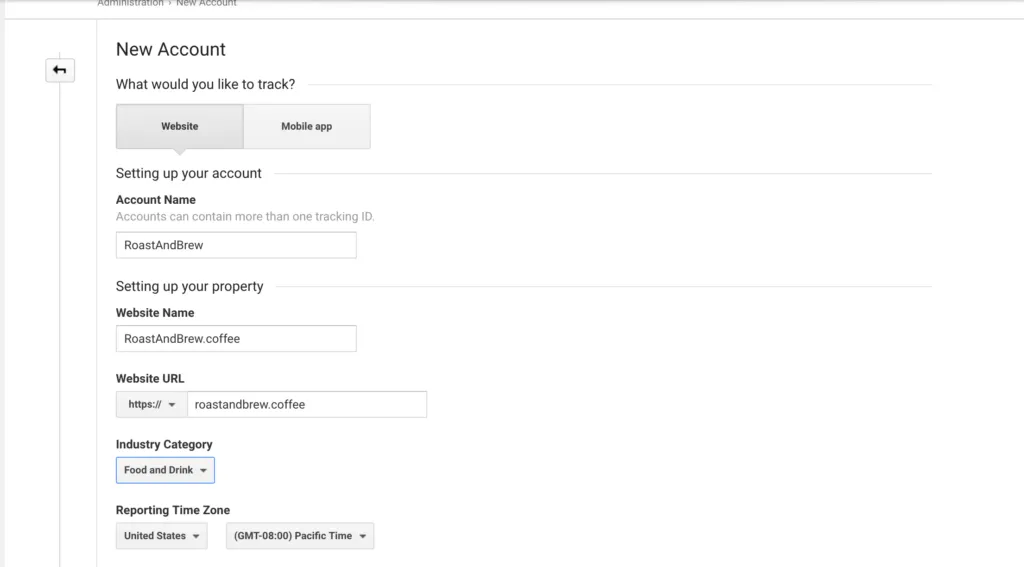
Once you are done, click the Get Tracking ID button. You will need to accept the terms of service and you are ready to rock and roll! You will now be set up with a tracking script and an ID.
Step 2: Add Tracking Script To Head Of Site
We will need to add the tracking script to the head of every page we want to track. Well since we are doing a single page app, we just need to add it to one file.
First, open up: /resources/views/app.blade.php. This is where our single page application kicks off. Add the script you got from Google analytics, right after the opening <body> tag:
(function(i,s,o,g,r,a,m){i['GoogleAnalyticsObject']=r;i[r]=i[r]||function(){
(i[r].q=i[r].q||[]).push(arguments)},i[r].l=1*new Date();a=s.createElement(o),
m=s.getElementsByTagName(o)[0];a.async=1;a.src=g;m.parentNode.insertBefore(a,m)
})(window,document,'script','https://www.google-analytics.com/analytics.js','ga');

ga('create', 'YOUR_TRACKING_ID', 'auto');
ga('send', 'pageview');
This is only part of the process. In a "standard" application, this would be enough, but now users will visit this page and navigate through the single page app, but won't update where they are actually visiting. We now need to make Google Analytics play nice with Vue Router.
Step 3: Add Vue Router Support
So Vue Router has a couple methods they refer to as navigation guards: Navigation Guards · vue-router . These guards can be used for SPA security, or to confirm something before navigating. They can also be used to tell Google Analytics what page we are on.
We will want to use the afterEach navigation guard. The reason we want afterEach is to confirm the user has navigated to the page successfully to keep track of valid page navigation. We don't want it to occur to soon and the user doesn't navigate like a beforeEachguard would do.
To add support, open the /resources/assets/js/app.js file and add the following code to the end of the file:
import Vue            from 'vue';
import router           from './routes.js'
import store          from './store.js'

new Vue({
    router,
  store
}).$mount('#app')

ga('set', 'page', router.currentRoute.path);
ga('send', 'pageview');

router.afterEach(( to, from ) => {
  ga('set', 'page', to.path);
  ga('send', 'pageview');
});
This will make sure that Google Analytics sets the current page on load then whenever the router changes, we push a page view.
Conclusion
This is all it takes to configure Google Analytics for a single page app! Now you can get all of the information you need about how users use your app. Of course you can always customize the analytics, set goals, etc but at least you have some page view data to tailor the app to the user's needs.
Of course, check out the full source code: GitHub - serversideup/roastandbrew: Helping the coffee enthusiast find their next cup of coffee. Also, helping aspiring web and mobile app developers build a single page app and converting it to a mobile hybrid. All tutorials can be found at https://serversideup.net.
Like what you're reading?
We write code the same way -- production-grade, well-documented, and built to last. Two senior engineers available for a fraction of what a full-time hire costs.

Join our community
We're a community of 3,000+ members help each other level up our development skills.
 Join our Discord
 Platinum Sponsors

Active Discord Members
We help each other through the challenges and share our knowledge when we learn something cool.
Stars on GitHub
Our community is active and growing.
Newsletter Subscribers
We send periodic updates what we're learning and what new tools are available. No spam. No BS.
Sign up for our newsletter
Be the first to know about our latest releases and product updates.
We're a community empowering product builders with self-hosted tools and open source solutions.