
 Hire Us
Creating SAAS Products in Stripe to Sell with Laravel Cashier
Dan Pastori
December 17th, 2019
Now we are getting to the meat of the application! This is where we will be adding our products and plans in Stripe so we can allow users to subscribe to them through Laravel. Up to this point, we have Laravel Cashier (the official Stripe package installed) and we've grabbed our API tokens from Stripe and placed them in our .env file. Next up, we need to add some products and plans for users to put a card on file and pay for!
This is specifically where I got lost when I first did this so I hope it helps fill the gaps with other people's implementation.
1. Adding a Product
The first thing we will need to do is add a product. To do this, make sure you are in the Stripe dashboard and go to Billing. Once on the Billing page, you will get a sub-menu where there's an link called Products. Click that link.
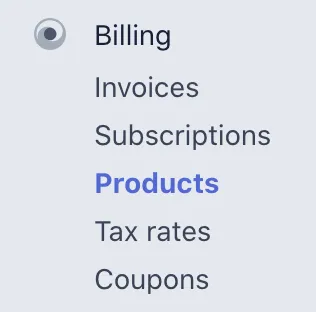
You might get confused with Subscriptions since we are working with users subscribing to features. However, Subscriptions is a list of users who are subscribed to a product.
The way I look at products in Stripe is this is your App. You have an account with Stripe and then you have a product. Say you are building a note taking platform that has 3 levels of pricing. The app's name is "Super Notes". You will be creating a product named "Super Notes" that has 3 different pricing plans. Don't worry, we will be going through all of these steps.
2. Creating a Product
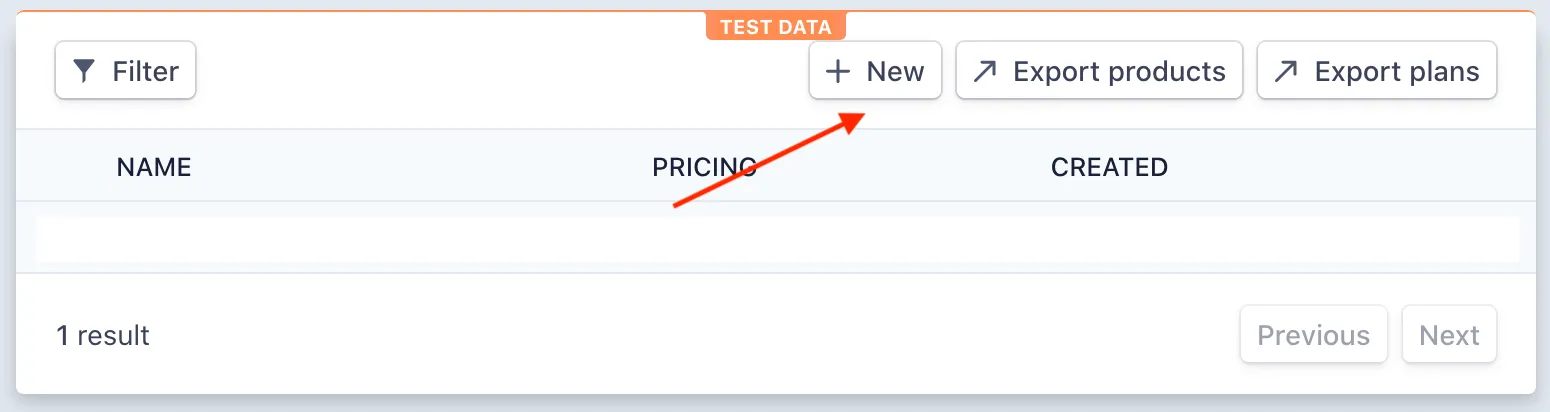
Stripe is set up to handle a lot of different subscription type products. We are going to look at this from the lens of an app. The first thing you need to do is click the + New button on the top of the table.
A modal will appear. In there you will enter the following fields: - Product Name → This would be your app. The other 2 fields Unit label and Statement descriptor are optional. Enter them only if you need to.
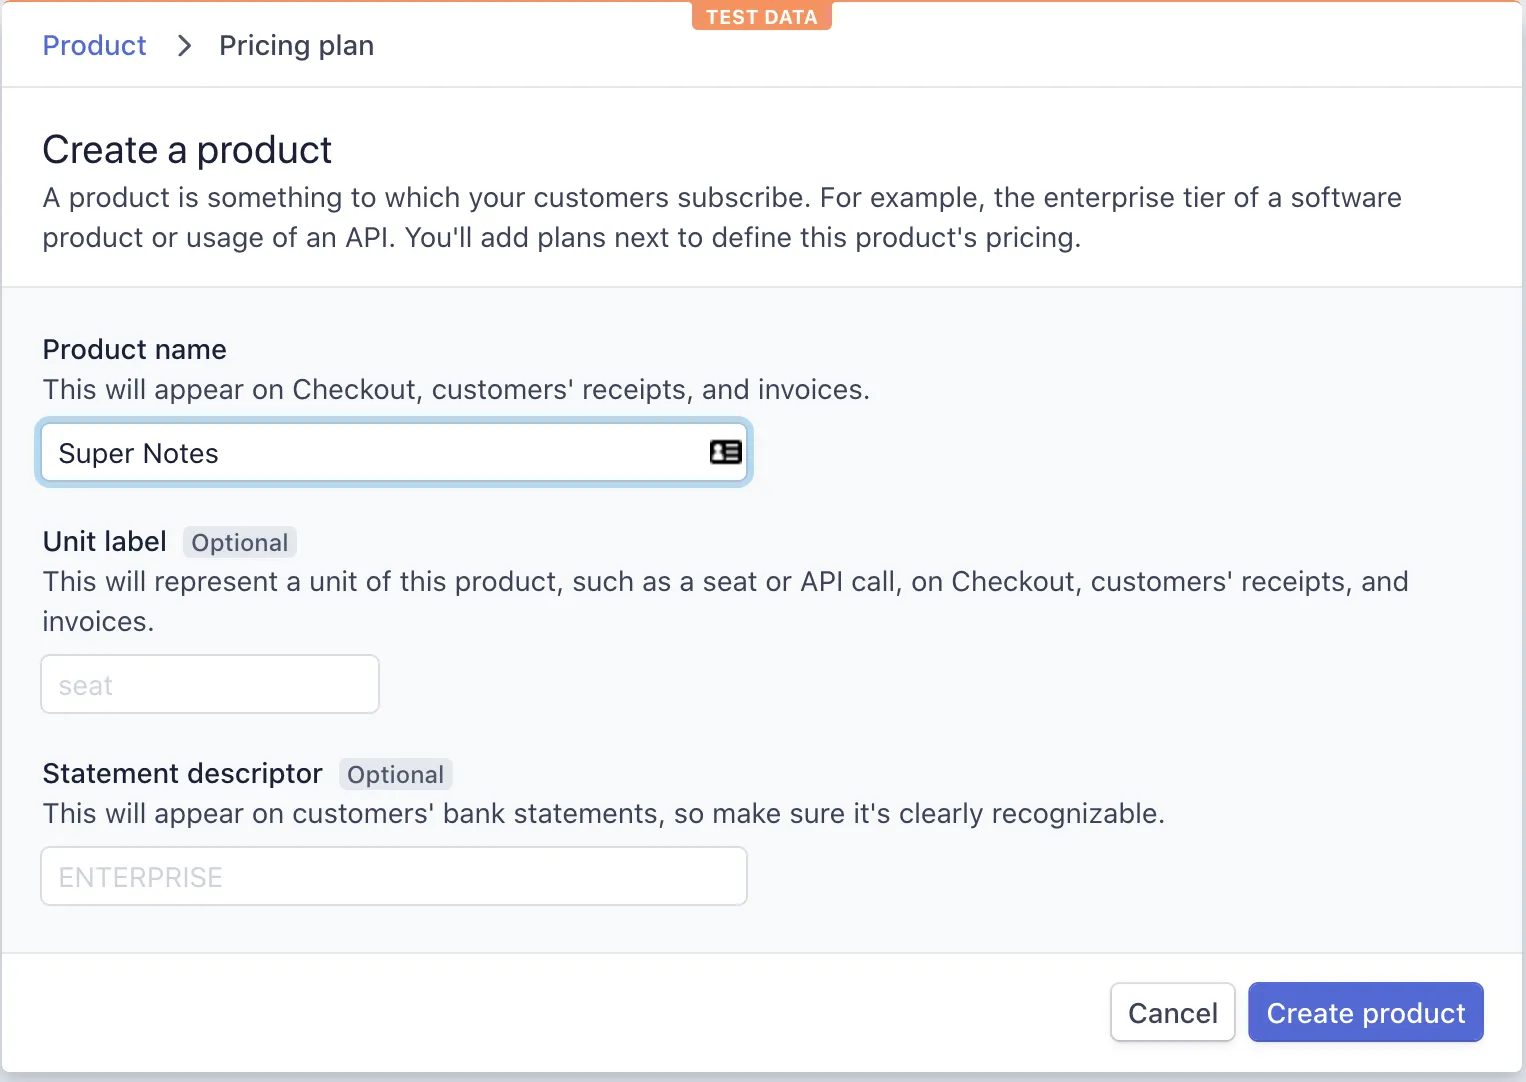
When you are ready, click Create product and your first product will be created!
3. Add Pricing Plans to Your Product
Now it's time to add a few pricing plans to your product! These are what your users will be signing up for. So let's think about a few different plans. Say we have a 3 tiered service with a Basic, Professional, Enterprise and we will charge $10.00, $15.00, $20.00 per month accordingly.
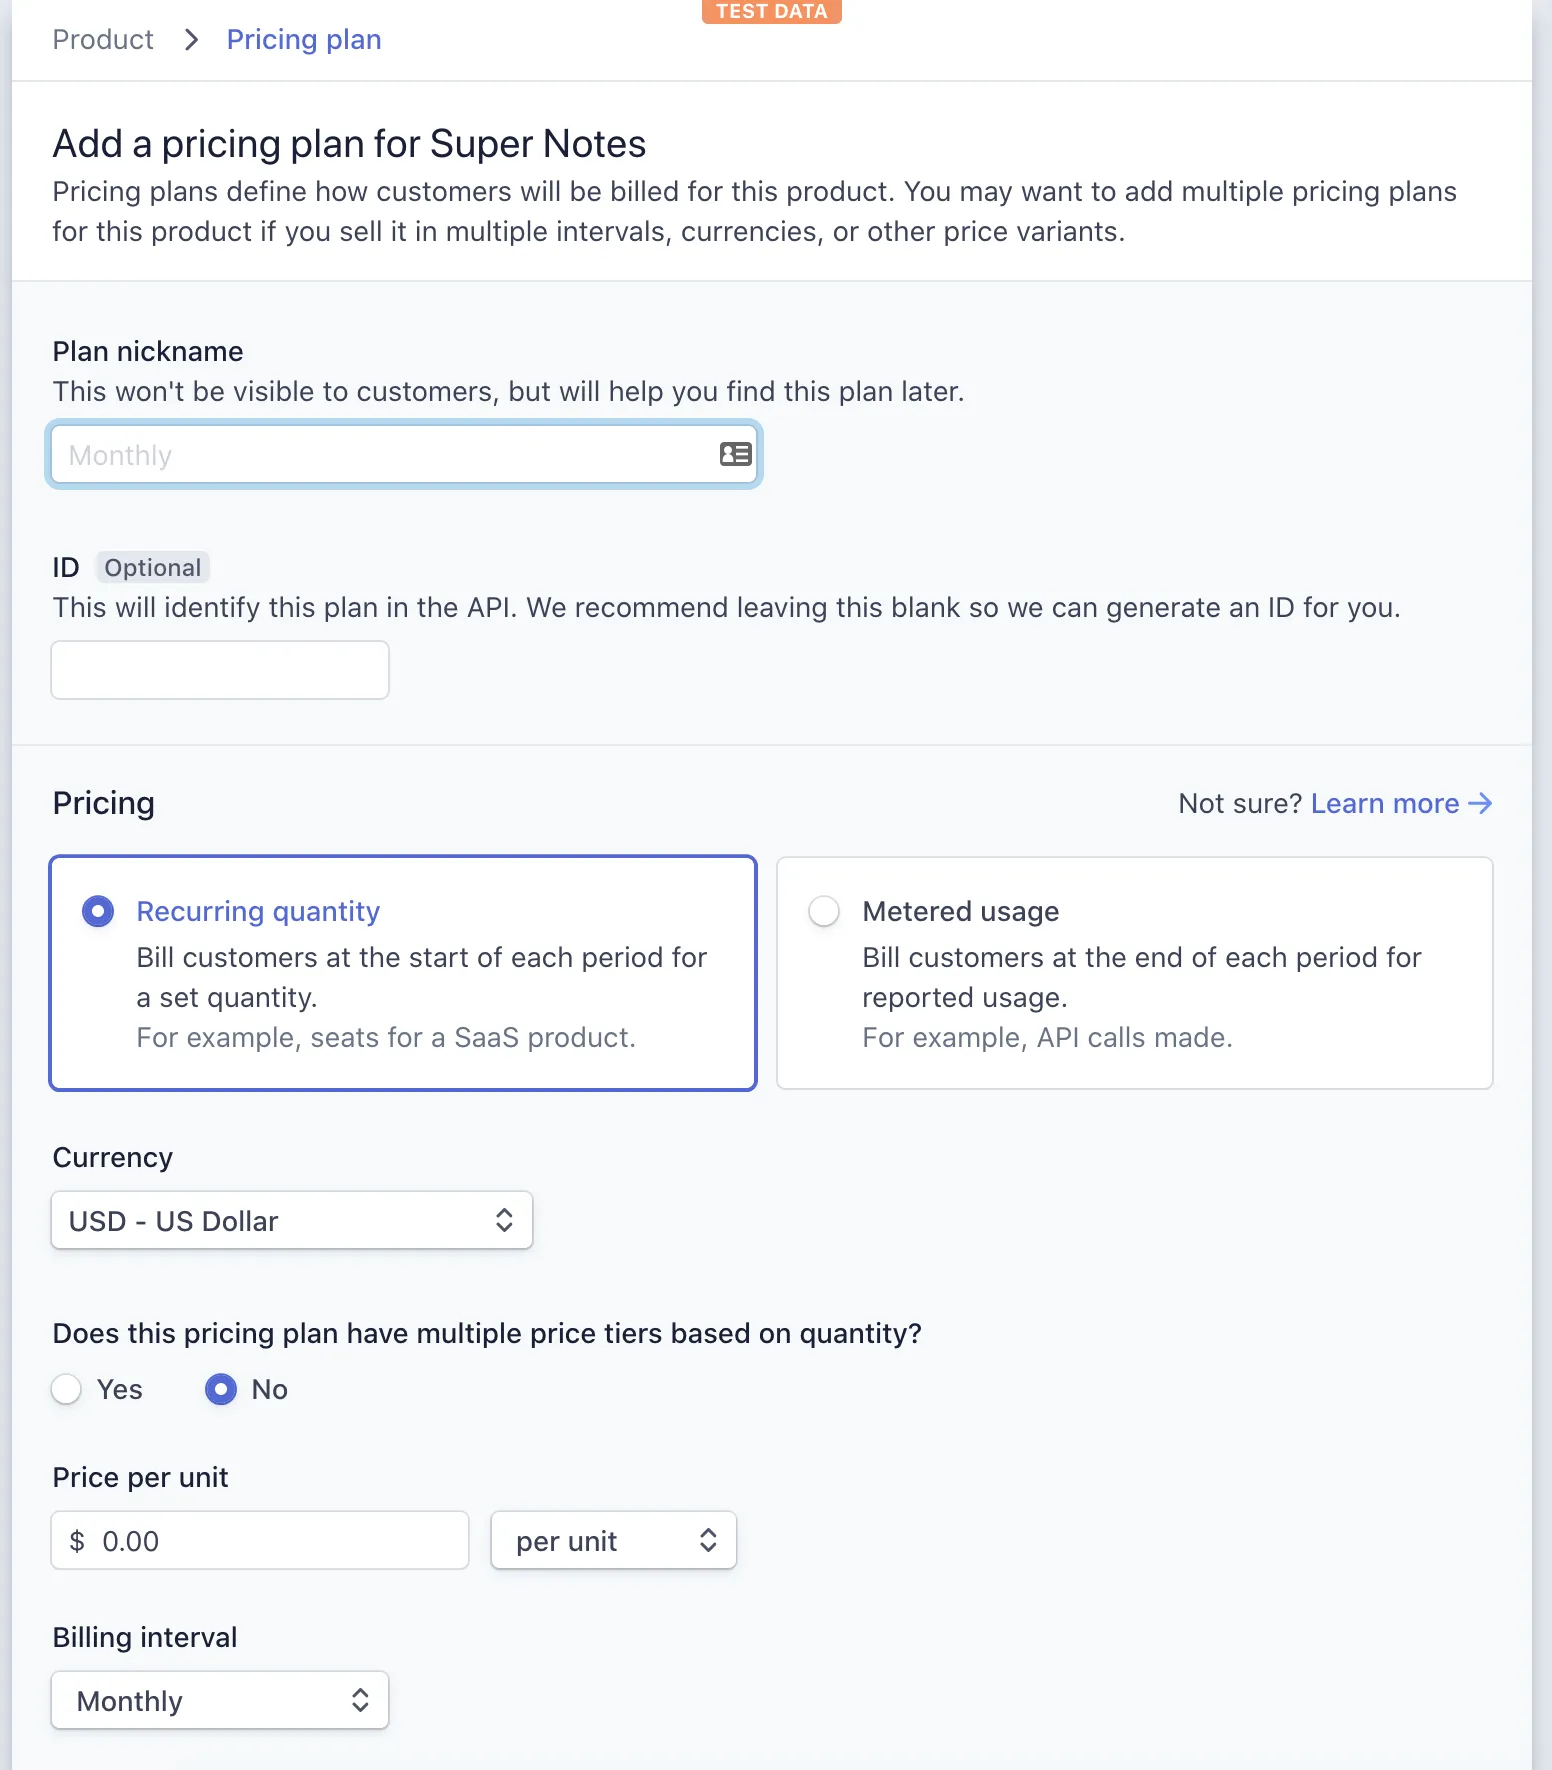
Let's start with "Basic". For the plan nickname, this will be "Basic". We will leave the ID blank so Stripe will generate this for us. We will also keep 'Recurring quantity' checked so we will charge the user at the proper recurring time. Finally, we will enter $10.00 per unit and our plan will be ready!
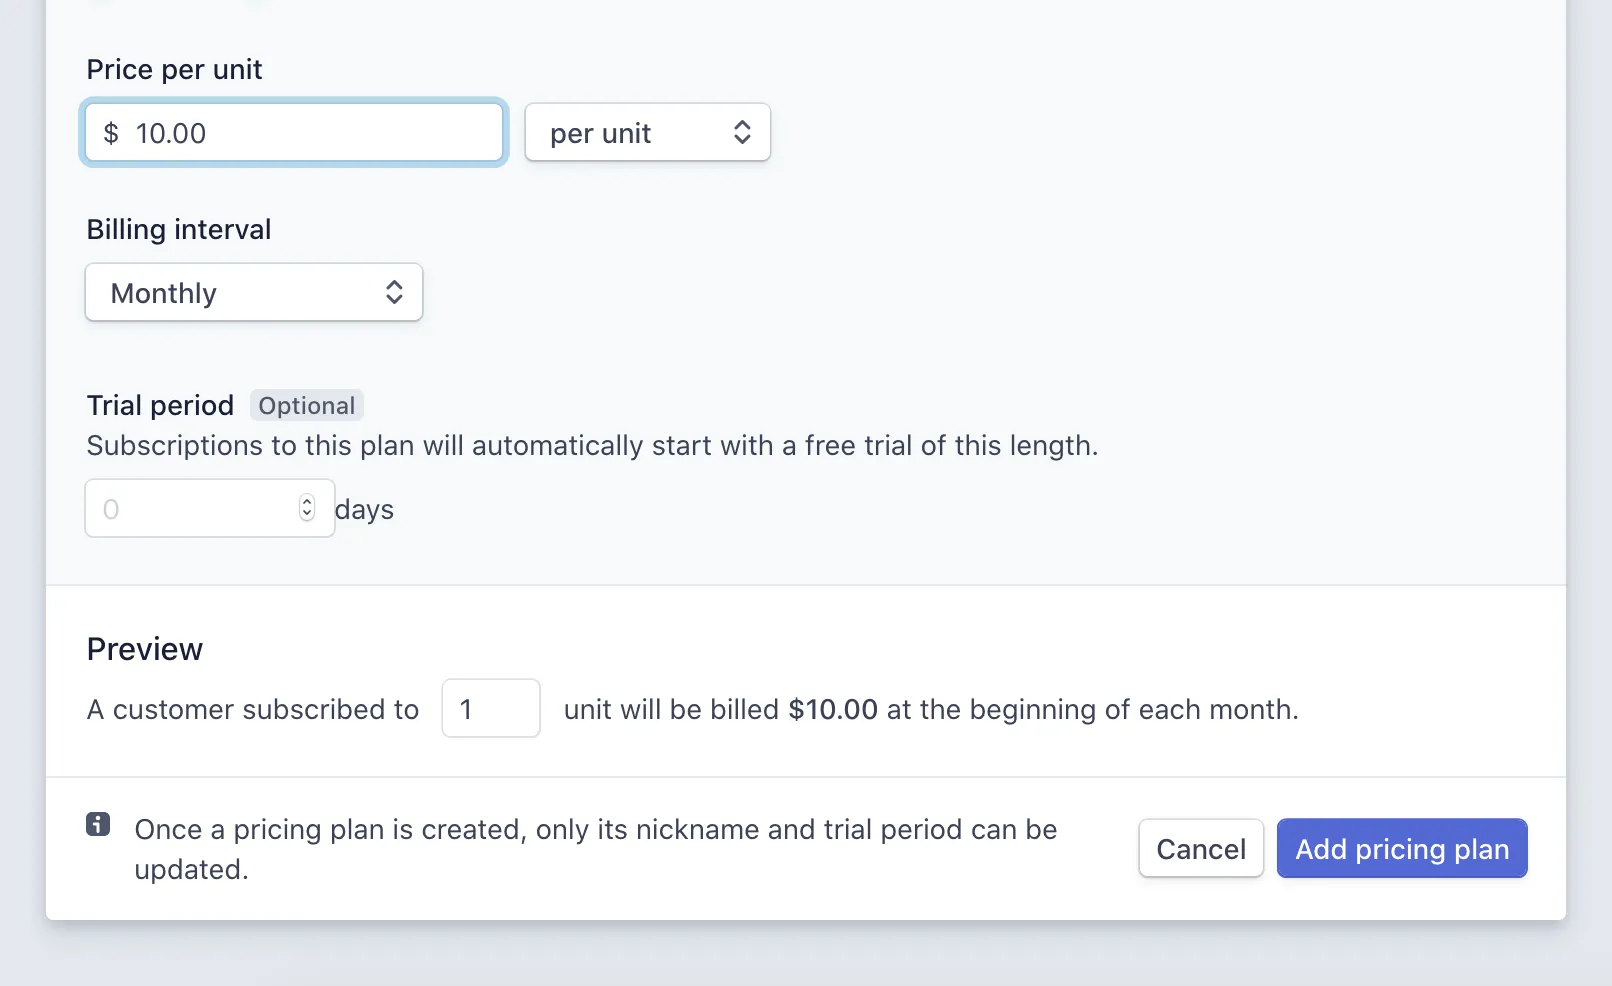
All we have to do now, is click Add pricing plan and we will be ready to move to the next one! We just have to repeat the above process for the next 2 pricing tiers, swapping what is necessary such as name and price.
That's all we need to do for this step! We now have Laravel ready to work within Stripe. In Stripe we are set up to receive requests and some products available for the user to subscribe to. The next part of this series will be to begin connecting everything together.
Want to work together?
Professional developers choose Server Side Up to ship quality applications without surrendering control. Explore our tools and resources or work directly with us.

Join our community
We're a community of 3,000+ members help each other level up our development skills.
 Join our Discord
 Platinum Sponsors

Active Discord Members
We help each other through the challenges and share our knowledge when we learn something cool.
Stars on GitHub
Our community is active and growing.
Newsletter Subscribers
We send periodic updates what we're learning and what new tools are available. No spam. No BS.
Sign up for our newsletter
Be the first to know about our latest releases and product updates.
We're a community empowering product builders with self-hosted tools and open source solutions.