Browser Extension Messaging
One of the most confusing parts of developing your first browser extension is how to make each part communicate efficiently. Reading the docs doesn’t help. There’s ports and one time message calls, confusion on how to handle responses whether they are synchronous or asynchronous, and it’s super difficult to target certain parts of your extension.
That’s where the webext-bridge package comes in. The webext-bridge
package allows you to easily communicate between different parts of your extension. Every piece is handled cleanly and efficiently. Most importantly, you can target where you are sending the message so you don’t have check if the part of the extension receiving the message should be receiving the message.
Let’s run though how to use the webext-bridge
package.
Installing the webext-bridge
package
First, we will need to add the webext-bridge
package to our browser extension. To do that, run the following command:
yarn add webext-bridge
That’s it! Now we can begin to use the package within our extension.
Including the right module
Let’s say we have 3 pieces to our extension. We have a background script, content script, and popup. Each piece of the extension needs to communicate with one another efficiently.
For the sake of simplicity in this example, we’ll say our popup script lives in the popup.js
file, our background script in background.js
, and our content script in content.js
.
The most important part of using the webext-bridge
package is to import the right module in the right place when setting up your communication. Let’s say we want to handle communication in the content script:
import { sendMessage, onMessage } from "webext-bridge/content-script"
Notice how we import the webext-bridge/content-script
module? That module is scoped to the content script. So when we target a message to the content script, we ensure it’s going to the right place and getting picked up by the script itself.
The same goes for the popup and the background script. To handle communication in either of those areas, you’d add the following code respectively:
import { sendMessage, onMessage } from "webext-bridge/popup"
or
import { sendMessage, onMessage } from "webext-bridge/background"
Once you have the right module imported in your code, you are ready to pass messages!
Sending Messages
Now that we have our modules included, let’s send some messages! This can happen on a user interaction, a timed event, or anywhere within your extension you need to communicate.
If you notice, when you import a module, you are importing two methods, sendMessage()
and onMessage()
. Let’s look at the sendMessage()
method first.
The sendMessage()
method is, you guessed it, how you send a message. It accepts 3 parameters no matter where you include it:
messageId
– ID of the message that we are sending. I usually set this to an uppercase enum or string value so it’s easy to listen for and makes sense.data
– JSON data to send along with the message. Used for processing.target
– The target we are sending the message to. In our example, there are 3 targets we will be using:background
,content-script
, andpopup
. We will also show how to target the content script at a specific tab.
Let’s say we want to send a message from our popup to the background. Our full code would look like this:
import { sendMessage, onMessage } from "webext-bridge/popup";
const response = await sendMessage("MESSAGE_ID", {
// your data
}, "background");
The two big things to note are the MESSAGE_ID
which will identify the message where we intend to receive it and handle the functionality, and the background
target. The background
target identifies the background script as the receiving end of the message.
Right now, we are halfway through the process. Let’s look at the onMessage()
handler and finish up this message passing.
Receiving Messages
So we have a message being passed to our background script, but how do we handle it? That’s where the onMessage()
handler comes in. The onMessage()
handler, no matter where you import it, has two parameters:
messageId
– ID of the message we are listening for. Matches the ID of the message being sent.handler
– The method that actually handles the message. This is asynchronous.
If we wanted to handle the message in our background script from our popup window, we’d open background.js
and add the following code:
import { onMessage, sendMessage } from "webext-bridge/background";
onMessage( "MESSAGE_ID", handleMessage );
async function handleMessage( message ){
return {
// response data
}
}
First, we import the onMessage
and sendMessage
from the webext-bridge/background
module when working in the context of a background script.
Next, we listen for the message with MESSAGE_ID
through the onMessage()
method. When that message is received, we handle the message, perform any computation we need, and return data. This is done through the handleMessage()
method.
The handleMessage()
method is our own method that we add our functionality to. It accepts a single parameter of message
and is asynchronous meaning we can use async/await
. All the processing done in this method is functionality we need in our extension.
Now when we receive the message
parameter, we get a data object that looks like this:
{
"sender": {
"context": "popup",
"tabId": null,
"frameId": null
},
"id": "MESSAGE_ID",
"data": { // Your Data },
"timestamp": 1701876927787
}
This parameter gets a little bit of extra data regarding the message that you can use when handling. If the message came from a content script (more on this next), you’d get a tabId
depending on where it came from.
If you don’t need all that extra data and only need the data
portion of the message, you can de-structure the data
key in the method signature:
async function handleMessage( { data } ){
}
We’ve just completed the full circuit of passing a message. And it wasn’t nearly as crazy as using the native messaging systems. Let’s look at one gotcha with content scripts and I’ll show a few more examples.
Content Scripts
The only gotcha with communicating with content scripts is they can live in multiple places since they are injected into the tabs. If you have multiple tabs that have a content script, you need to target which one should receive the message.
Let’s say we want to send a message to the active tab from the popup. We’d add the following code to the popup.js
file:
import { sendMessage, onMessage } from "webext-bridge/popup";
const sendMessageToContent = async () => {
let tabs = await browser.tabs.query({
active: true,
currentWindow: true
});
const response = await sendMessage("MESSAGE_ID", {
// Your data
}, "content-script@"+tabs[0].id); // Handle response
}
Like usual, we import the webext-bridge/popup
module. The difference is that we have to query the current tab with:
let tabs = await browser.tabs.query({
active: true,
currentWindow: true
});
Then, in the third parameter of the target in the sendMessage()
method, we target content-script@{tabId}
where the tabId
is the active tab. This can be any ID as long as there is a tab that exists in the browser with that ID and has a receiving content script. If your active tab has an id of 432
then the last parameter would look like content-script@432
.
Few More Examples
Here’s a few more examples of communication between parts of the browser extension.
Popup to Content Script
popup.js
import { sendMessage, onMessage } from "webext-bridge/popup";
const sendMessageToContent = async () => {
let tabs = await browser.tabs.query({
active: true,
currentWindow: true
});
const response = await sendMessage("MESSAGE_ID", {
// Your data
}, "content-script@"+tabs[0].id); // Handle response
}
content.js
import { sendMessage, onMessage } from "webext-bridge/content-script";
onMessage( "MESSAGE_ID", handleMessage );
async function handleMessage( message ){
return {
// response data
}
}
Content Script to Background
content.js
import { sendMessage, onMessage } from "webext-bridge/content-script";
sendMessage("MESSAGE_ID", {
// Your data
}, "background"); // Handle response
background.js
import { sendMessage, onMessage } from "webext-bridge/background";
onMessage( "MESSAGE_ID", handleMessage );
async function handleMessage( message ){
return {
// response data
}
}
Background to Content Script
background.js
import { sendMessage, onMessage } from "webext-bridge/background";
const sendMessageToContent = async () => {
let tabs = await browser.tabs.query({
active: true,
currentWindow: true
});
const response = await sendMessage("MESSAGE_ID", {
// Your data
}, "content-script@"+tabs[0].id); // Handle response
}
content.js
import { sendMessage, onMessage } from "webext-bridge/content-script";
onMessage( "MESSAGE_ID", handleMessage );
async function handleMessage( message ){
return {
// response data
}
}
Conclusion
I hope this helps clear up how to pass messages within browser extensions. The docs make it way more confusing than it should be. The webext-bridge
is a super helpful extension and it works on all major browsers.
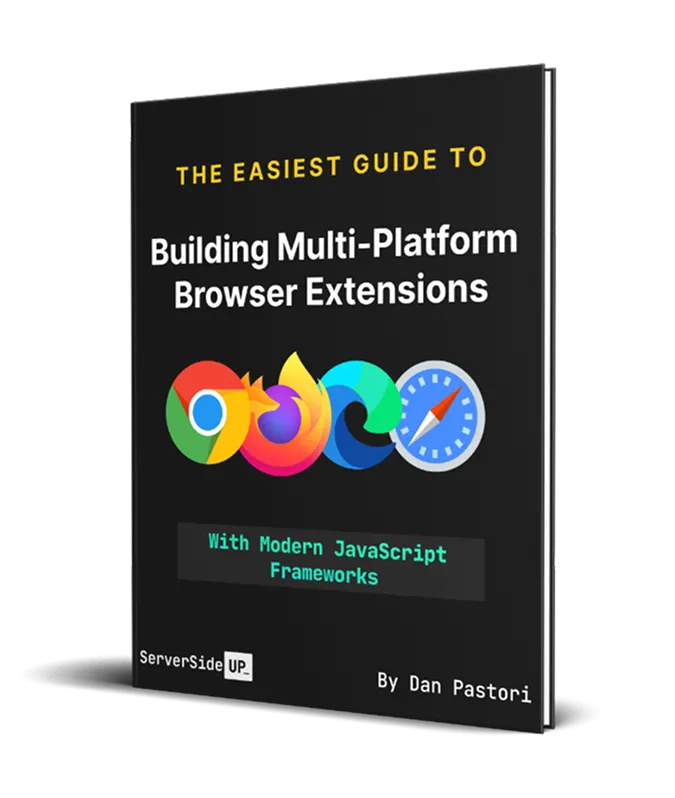
If you want to learn more about browser extension development, check out our book, Building Multi-Platform Browser Extensions. We go in-depth on messaging and a whole bunch of other tricky content. Such as, adding authentication, inserting content scripts, using Vue or React in your extension, running background tasks and so much more!