
 Hire Us
 Own your software, own your future.
Build professional applications faster with open source tools, premium solutions, educational resources, and a community that values control over their stack.
Tools, education, and community for developers who value quality and control.
The Hidden Cost of Convenience
In today's development landscape, you're often forced to choose between:
Speed
Quick development today often means surrendering control to platforms that raise prices once you're dependent on them.
Control
Maintaining full ownership typically means building everything from scratch and spending more time on infrastructure than on your actual product.
Quality
Professional-grade solutions often come with enterprise-level pricing that puts them out of reach for individual developers and small teams.
Level up your skills with developers facing the same challenges
As developers ourselves, we understand the struggle of balancing efficiency with control. With the right education or tool, you'll never suffer from vendor-lock again.
Open source repositories
We're delivering a collection of open source tools to help people control their data.
Stars on GitHub
Our community is active and growing.
Downloads per month
People use and trust our products every day.
Subscribers
We're grateful to have a strong community of makers and builders.
 Join our Discord
 Our Products
With the right tool or knowledge,
anything is possible
Grow and improve your product without friction or sacrifice of control.

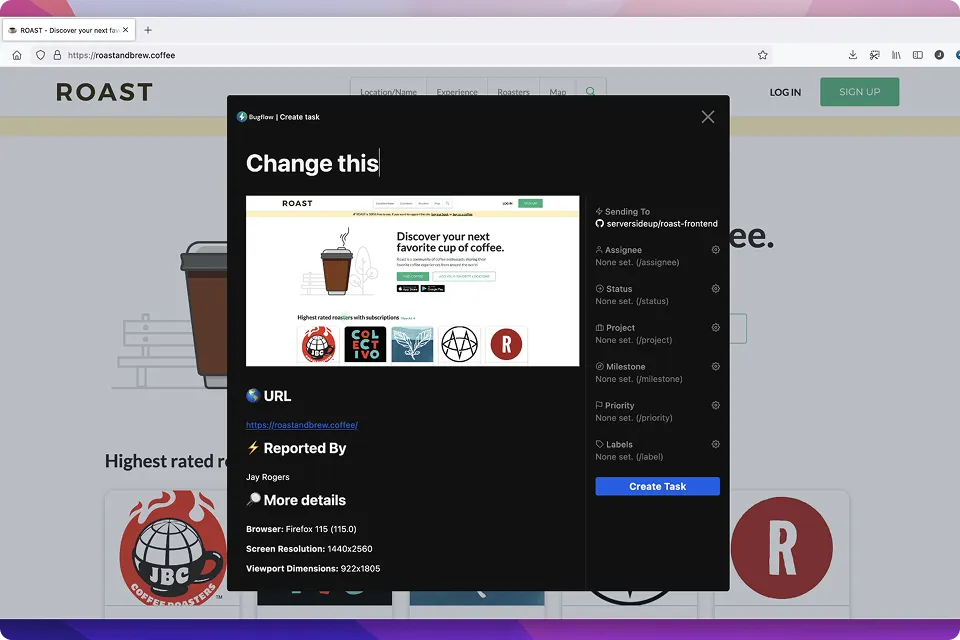
Improve your product through visual product feedback. Bugflow captures feedback from customers and internal testers and puts them into your existing project management flow.

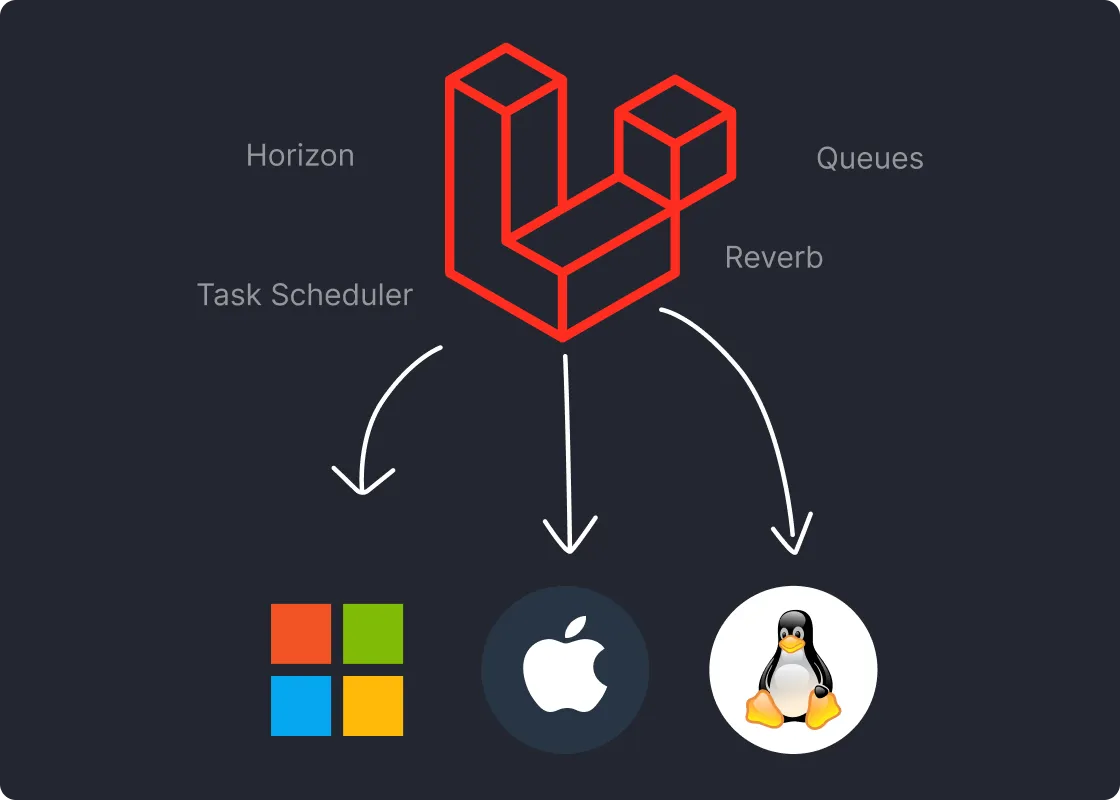
Based on a collection of our open source projects, Spin Pro enables Laravel Pros to ship software with the power of a PaaS to any VPS host of their choice. Available as PAY ONCE infrastructure.
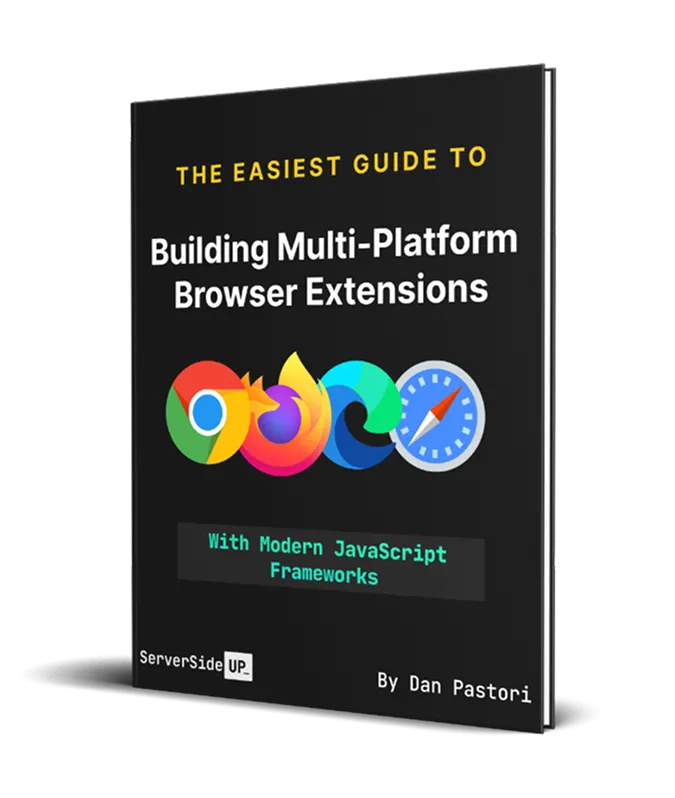
Building Browser Extensions
Learn how to efficiently build browser extensions for every major browser from the same codebase. Source code examples for every major JavaScript framework is included.
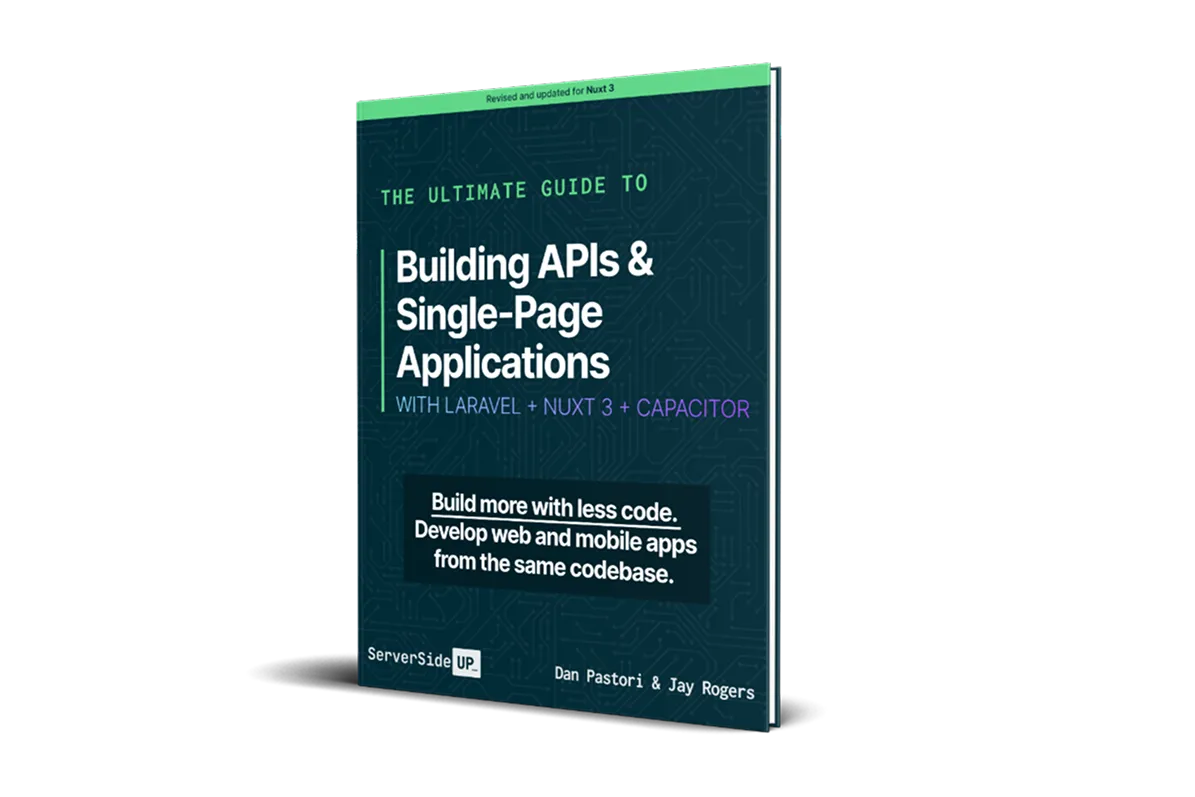
Ultimate Guide To Building APIs & SPAs
Learn how you can use a Laravel API with a Nuxt frontend. You'll then learn how you can take that same Nuxt code and compile it into iOS and Android apps using the same codebase with Capacitor. Includes source code, Figma templates, videos, and more.

Our open source PHP Docker images are production-ready and optimized for Laravel and WordPress. Configuration is a breeze with environment variables. Choose between FPM+NGINX, NGINX Unit, and more.
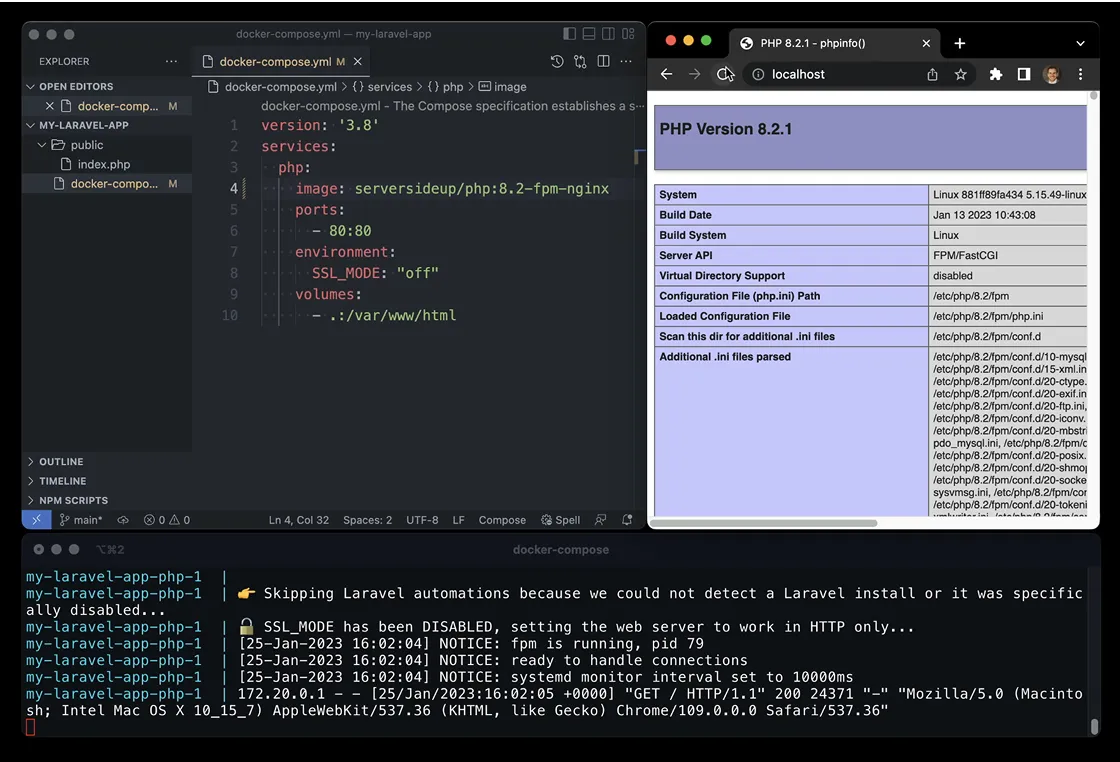

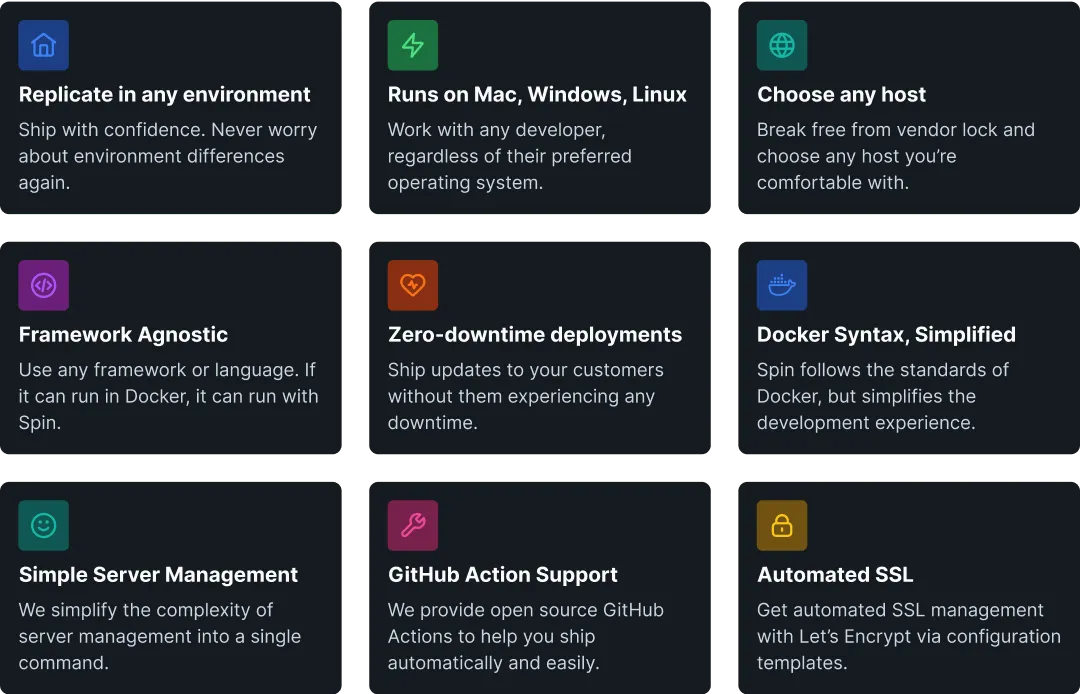
Get the power of running a PaaS on any VPS host of your choice. Run your application in a 100% replicated workflow on macOS, Windows, and Linux all using Docker.

An open source alternative to Mint and YNAB. Track your expenses and never worry about your financial data being used by investors again.


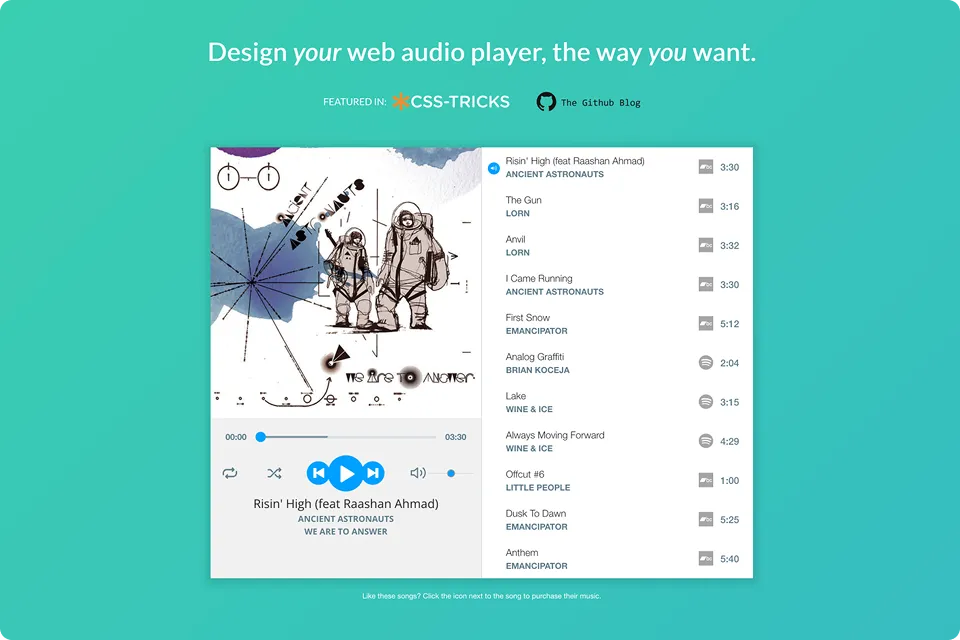
Gain full control of the web audio element in HTML5. Design your audio player to exactly match your vision. Use visualizers to take your audio to the next level.

Simplify the communication between your browser extension's components with a type-safe messaging library for Chrome, Firefox, and Edge.
Sign up for our newsletter
Be the first to know about our latest releases and product updates.
Customized solutions for hire
Focus on growing your business while we focus on building your product. Get two complete-stack engineers who deliver consistent results without the productivity-killing overhead of traditional development.

Dan Pastori
Full-stack Engineer (16+ years)

Jay Rogers
UX Designer & DevOps Engineer (20+ years)
 Discuss your project
 Latest posts
Our Blog
Latest releases, how-to articles, and more.

Docker Compose Bind Mounts vs Named Volumes: When to Use Each

Choosing Your Services and Database

Importance of Repeatable Environments
Join our community
We're a community of 3,000+ members help each other level up our development skills.
Platinum Sponsors

Active Discord Members
We help each other through the challenges and share our knowledge when we learn something cool.
Stars on GitHub
Our community is active and growing.
Newsletter Subscribers
We send periodic updates what we're learning and what new tools are available. No spam. No BS.
Sign up for our newsletter
Be the first to know about our latest releases and product updates.
We're a community empowering product builders with self-hosted tools and open source solutions.